Drupal Content synchronization for Multi- Environment Sites
In this blog, we will learn about Drupal content synchronization for Multi-Environment Sites.
In today’s digital world, websites are rarely built in one place and published instantly. Most professional projects run across multiple environments — Development, Staging, and Production. Teams test features, editors prepare content, and only after approval does everything go live.
But here’s the challenge:
How do you ensure the right content appears in the right environment at the right time — without errors, duplication, or confusion?
The answer lies in Content Synchronization.
Why Content Synchronization Matters:
Imagine this situation:
Your team creates a set of blog posts in a staging environment. The client approves them. Now you need to move those exact posts — including images, tags, authors, and metadata — to the live website.
Manually recreating content is risky:
- Titles might change accidentally
- Images may not upload correctly
- Taxonomy terms could mismatch
- Content synchronization eliminates these risks by allowing structured and controlled content transfer between environments or websites.
Understanding the Foundation:
Drupal separates configuration and content.
Configuration includes content types, roles, permissions, and views.
Content includes blog posts, pages, users, media, and taxonomy terms.
While configuration has built-in synchronization tools, content synchronization requires a strategic approach. That’s where planning becomes essential.
Export & Import Workflow:
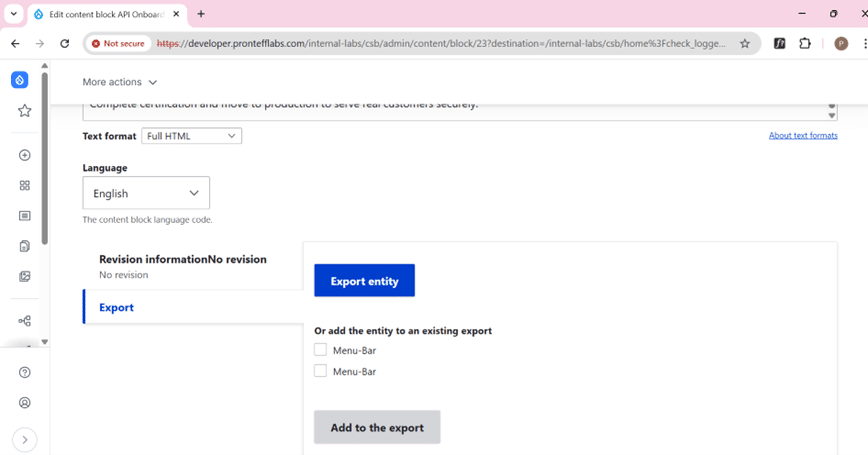
Step 1: Export Content Entities
Go to the content type, block, or menu you want to export.
Look for the “Export Entity” option.
Click Export → this will generate a .tar file containing all selected content entities.
Download the .tar file to your local machine
Step 2: Prepare the Target Environment
Before importing content, ensure that the target Drupal environment has:
The same content types and fields
The same block regions and layout structure
Required modules enabled
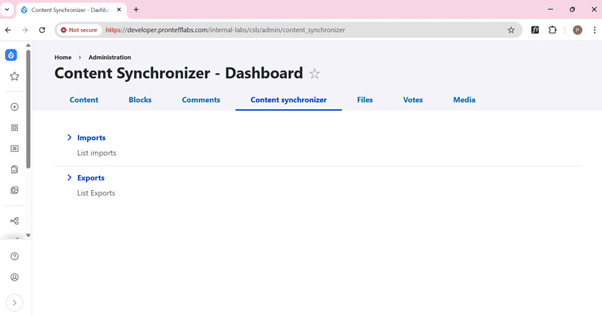
Step 3: Import Content via Content Synchronization
At the block creation level, the Content Synchronization option
Click Import.
Upload the downloaded .tar file.
Drupal will automatically:
Import all content entities into the database
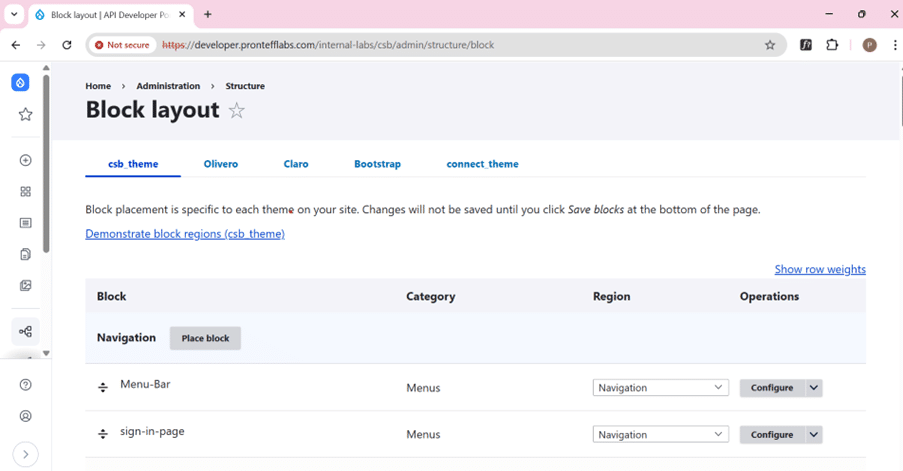
Step 4: Configure Block Layouts
Go to Structure → Block Layout.
Place the imported blocks in the appropriate regions of your theme.
Configure visibility, roles, or conditions as needed.
Save the layout.
Conclusion:
Content synchronization in Drupal helps teams easily move content between different environments like Development, Staging, and Production without mistakes. Instead of manually recreating content, the export and import process ensures that all details such as images, tags, authors, and metadata, remain the same. By following a proper workflow and maintaining the same configuration across environments, teams can manage content more efficiently, reduce errors, and publish updates to the live website with confidence.