What are the steps to run a React Native application in Android studio?
In this blog, we are going to explain the steps to open React Native application in Android studio. In fact, if you already have the tools installed, the process is rather simple.
What is React Native?
You may create natively rendered mobile apps for iOS and Android with React Native, sometimes referred to as RN, a well-liked JavaScript-based mobile app framework. The framework enables you to use the same Codebase to construct an application for several platforms.
In 2015, Facebook originally made React Native available as an open-source project. Within a few years of its debut, React Native grew to become one of the most popular platforms used for mobile development. Some of the most famous mobile applications in the world, such as Instagram, Facebook, and Skype, are powered by React Native development.
What is Android Studio?
The integrated development environment (IDE) that may be used to create Android applications is known as Android Studio. It is based on the Intellij IDEA, a Java-integrated development environment for software, and incorporates its code editing and developer tools.
Application development for the Android OS(Operating System) is aided by Android Studio’s Gradle-based build system, emulator, code templates, and GitHub integration. Every project in Android Studio comprises one or more modalities that contain source code and resource files. Google App Engine modules, Library modules, and modules for Android apps make up these modalities.
Steps involved in opening React Native application in Android Studio
1. Open Android Studio
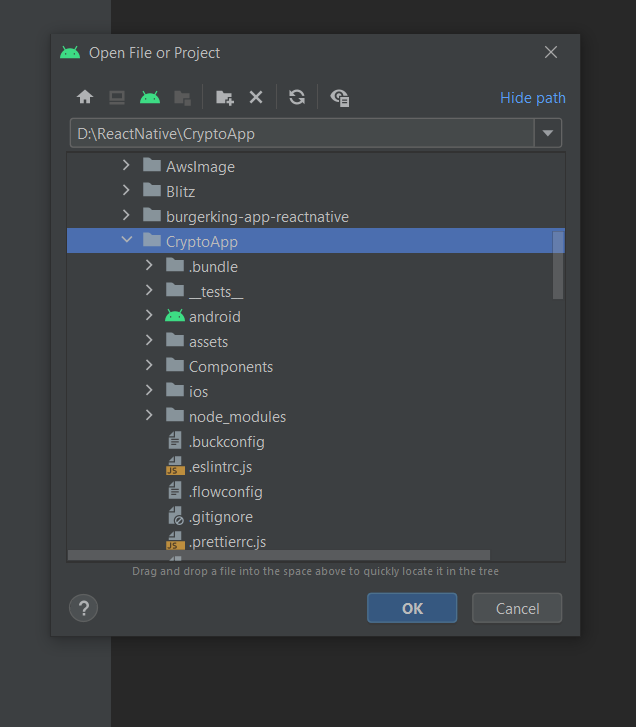
2. Click on the file and select open new Project
3. Go to the folder where Your App consists and open the app
4. When you find the android Folder and select that Android Folder it will open in android Studio
Click on Open
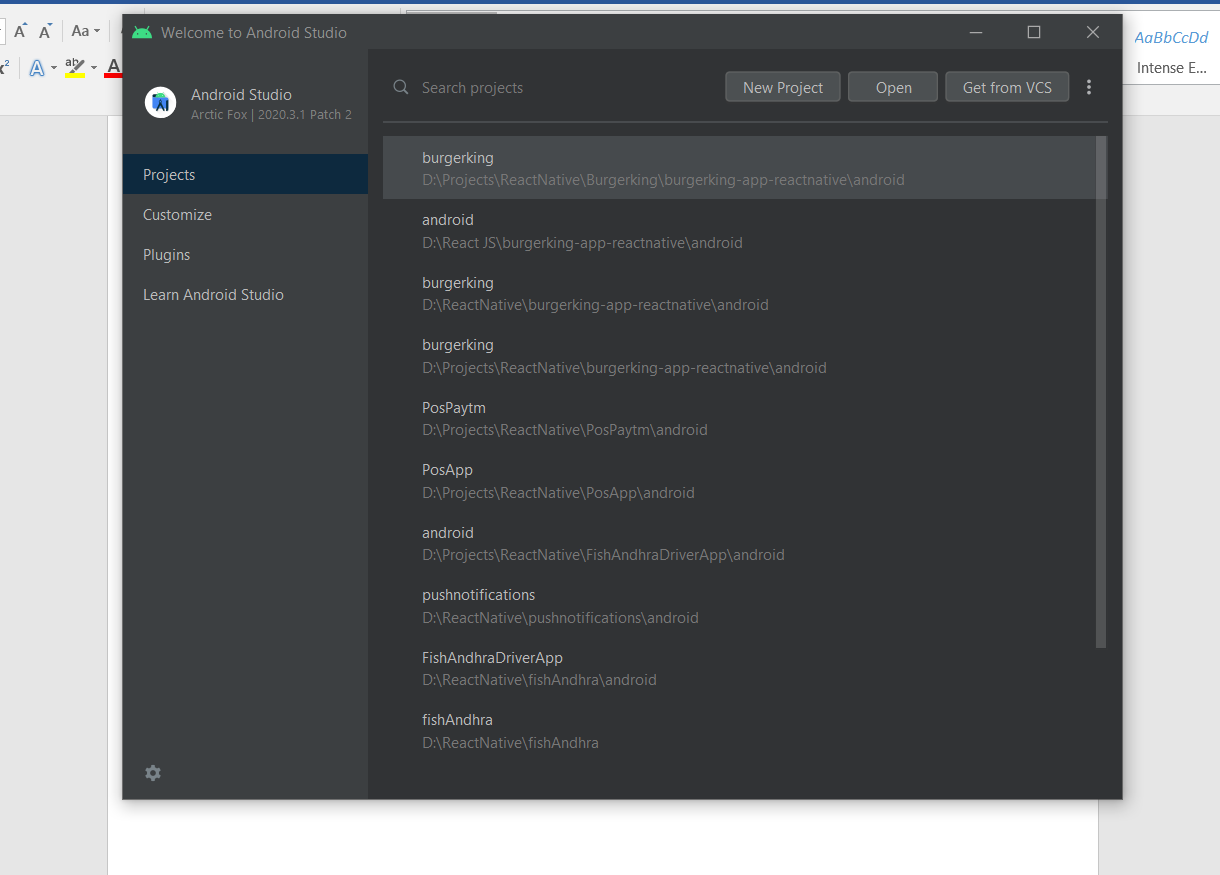
5. select the project and select Android Folder