Introducing OpenShift Web Terminal Operator 1.5
What does it mean to be an OpenShift Web Terminal Operator?
This operator connects with OpenShift, allowing users to communicate with the cluster without installing any tools locally by opening a Command-line terminal drawer within the console.
What is the purpose of the Web Terminal Operator?
Web Terminal Operator eliminates the requirement for your developers to download client packages on their local machines in order to interface with your OpenShift cluster. The OpenShift Command line terminal in the OpenShift Console can run command-line utilities. When you require them, CLIs are already installed and fully authenticated.
Here’s a list of some of the available CLIs:
- oc
- odo
- helm
- kn
- tkn
- rhoas
- subctl
- jq
- kubectl
Setup Instructions
Follow these steps to install the Web Terminal Operator:
1. Open the OpenShift Console and log in. (If you don’t already have an OpenShift cluster, try it out here!)
2. Click OperatorHub in the Operators navigation area from the Admin perspective.
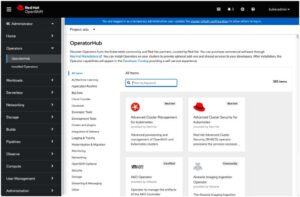
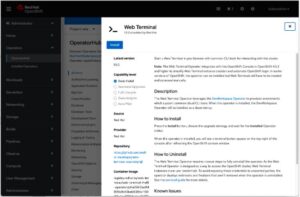
3. Look for Web Terminal and select it from the results.
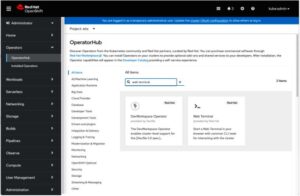
4. The information about the Web Terminal is presented in the side panel. To get started, click Install.
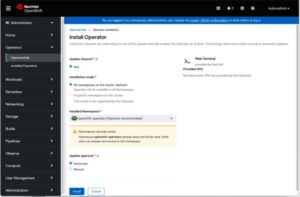
5. To install the Web Terminal operator, accept all defaults on the Install Operator page and click Install.
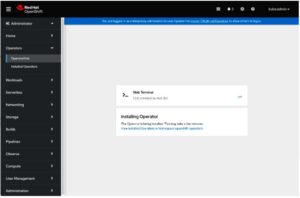
6. A loading screen with the installation status will appear.
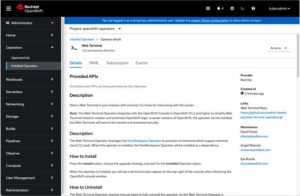
7. Wait for the user interface to indicate that it is ready to use. Select View Operator from the menu.

8. Check the Web Terminal Operator’s status. The new icon should be to the left of the Help icon on the top banner. Try refreshing your browser if it isn’t already there. It’s ready to use as soon as the icon displays!
In the OpenShift Console, using the OpenShift command line terminal
Users can quickly use the Web Terminal Operator now that it has been installed on your cluster! To open the terminal drawer, simply click the icon in the banner.
![Copy of [OS Blog] OpenShift Web Terminal Operator is now GA](data:image/svg+xml,%3Csvg%20xmlns='http://www.w3.org/2000/svg'%20viewBox='0%200%201520%20972'%3E%3C/svg%3E) Features that are available:
Features that are available:
![Copy of [OS Blog] OpenShift Web Terminal Operator is now GA](https://pronteff.com/wp-content/uploads/2022/05/Copy-of-OS-Blog-OpenShift-Web-Terminal-Operator-is-now-GA.gif) Features that are available:
Features that are available:The shell history command uses the up and down arrow keys and other bash mechanics to recall earlier commands, however, this information is not saved across terminal sessions. From here, you can use all of the basic commands:
oc new-project <project-name>
: to create a new project
oc new-app <app url>
: to pull an existing image
oc get pods
: Will list all the pods
oc describe pod -l deployment=<name of pod>
: The describe command will give you more information on the details of a pod
oc get services
: To see the current list of services in a project